Decoupage Passover Seder Plate
jlm
Lesson Plan Sections
0 Ratings
Add to Favorite  

Decoupage Passover Seder Plate


Lesson Summary:

Review the symbols of the Passover seder with this decoupage glass seder plate craft, adaptable for all ages!


A project contributed by Rae Antonoff, www.raeandesigns.com


Be Inspired:The ideas included are offered as starting points as you and your students explore, discover and live the lessons. Be sure to elicit and encourage student and parent participation, consistently reinforcing the value being addressed. Allow lessons to authentically develop and change based on engagement and interests.


Lesson Plan Components

For the educatorJewish Thought, Text, and Traditionsmore

Exodus 13:3
And Moses said unto the people: ‘Remember this day, in which you came out from Egypt, out of the house of bondage...’

Pretty much every tradition within the Passover seder arises from this verse, in which we are commanded to remember the day of the Exodus from Egypt. The seder is how Jews have observed this commandment for centuries. Each tradition within order of the seder serves to remind us of one or more aspects of the Passover story.

The seder plate and its symbols are a central part of the seder that helps remind us of…
- Beitzah/Egg: rebirth and renewal in freedom
- Charoset: the mortar between the bricks we laid as slaves, and the sweetness of freedom
- Karpas/Parsley: renewal in spring; dipped in salt water to remember the tears shed in slavery
- Chazeret/Bitter Greens: the bitterness of everyday life as a slave and springtime renewal
- Maror/Bitter Herb: the harsh bitterness of being whipped as slaves
- Zaroa/Shankbone (Vegetarian option: Beet): the lamb’s blood the Israelites spread over their doors so the Angel of Death would pass over their homes

Jewish every dayIncorporate Jewish Valuesmore

Materials and resourcesmore


Materials

- Glass plates (some dollar stores carry them), or clear plastic plates (but glass is really so much nicer!)
- Coloring circles for seder plate (PDF)
- Colored pencils (markers will run once the Mod Podge is applied)
- Scissors
- Mod Podge (the brand name stuff is significantly more effective than the homemade version and more water resistant, but you can also just mix glue with water in a 2:1 ratio; I highly recommend doing the optional sealer step if you make your own decoupage medium)
- Foam brushes
- Tissue paper
- Optional, for extra durability: Spray-on acrylic sealer, like this 

Proceduremore

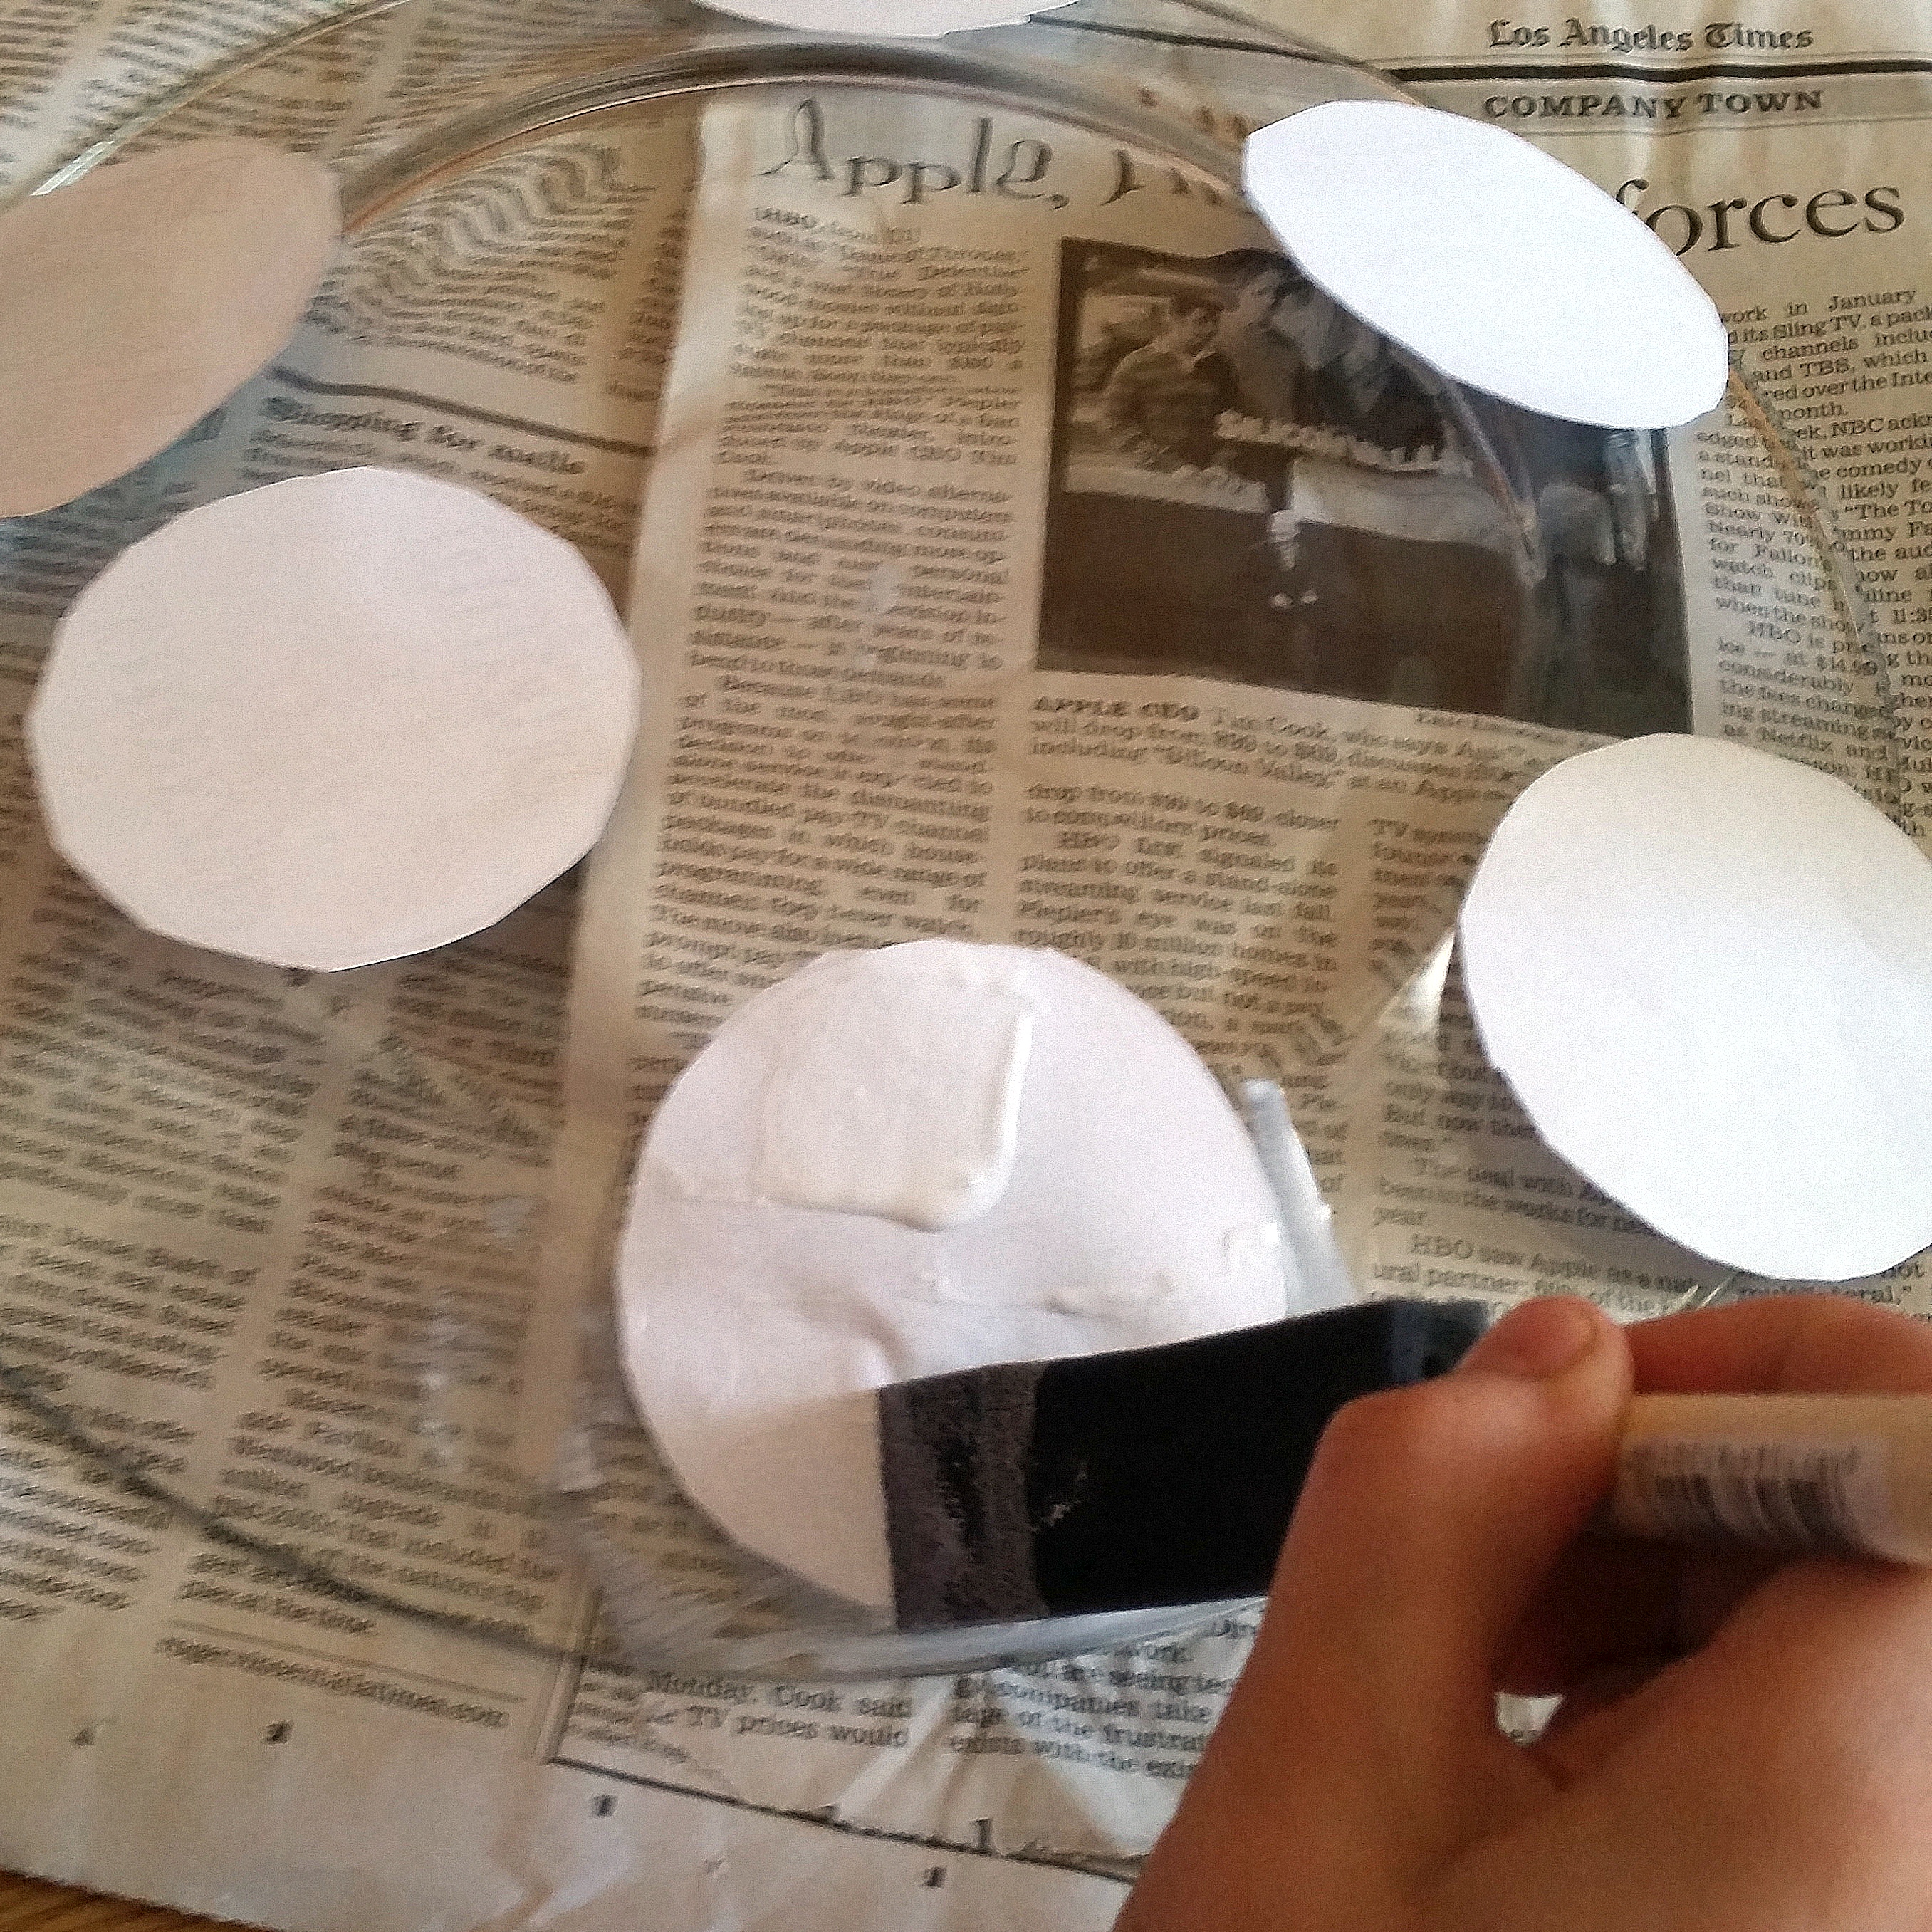
1. Fill in the seder plate circles with colored pencil any way you like – go realistic or not, add borders or background color or keep it simple… up to you!


2. Cut out the circles.

3. Decide where you want to put the circles: all 6 around the edges, or 5 around the edges and one in the middle.

4. Use ModPodge to attach the circles to the back of the plate:
   

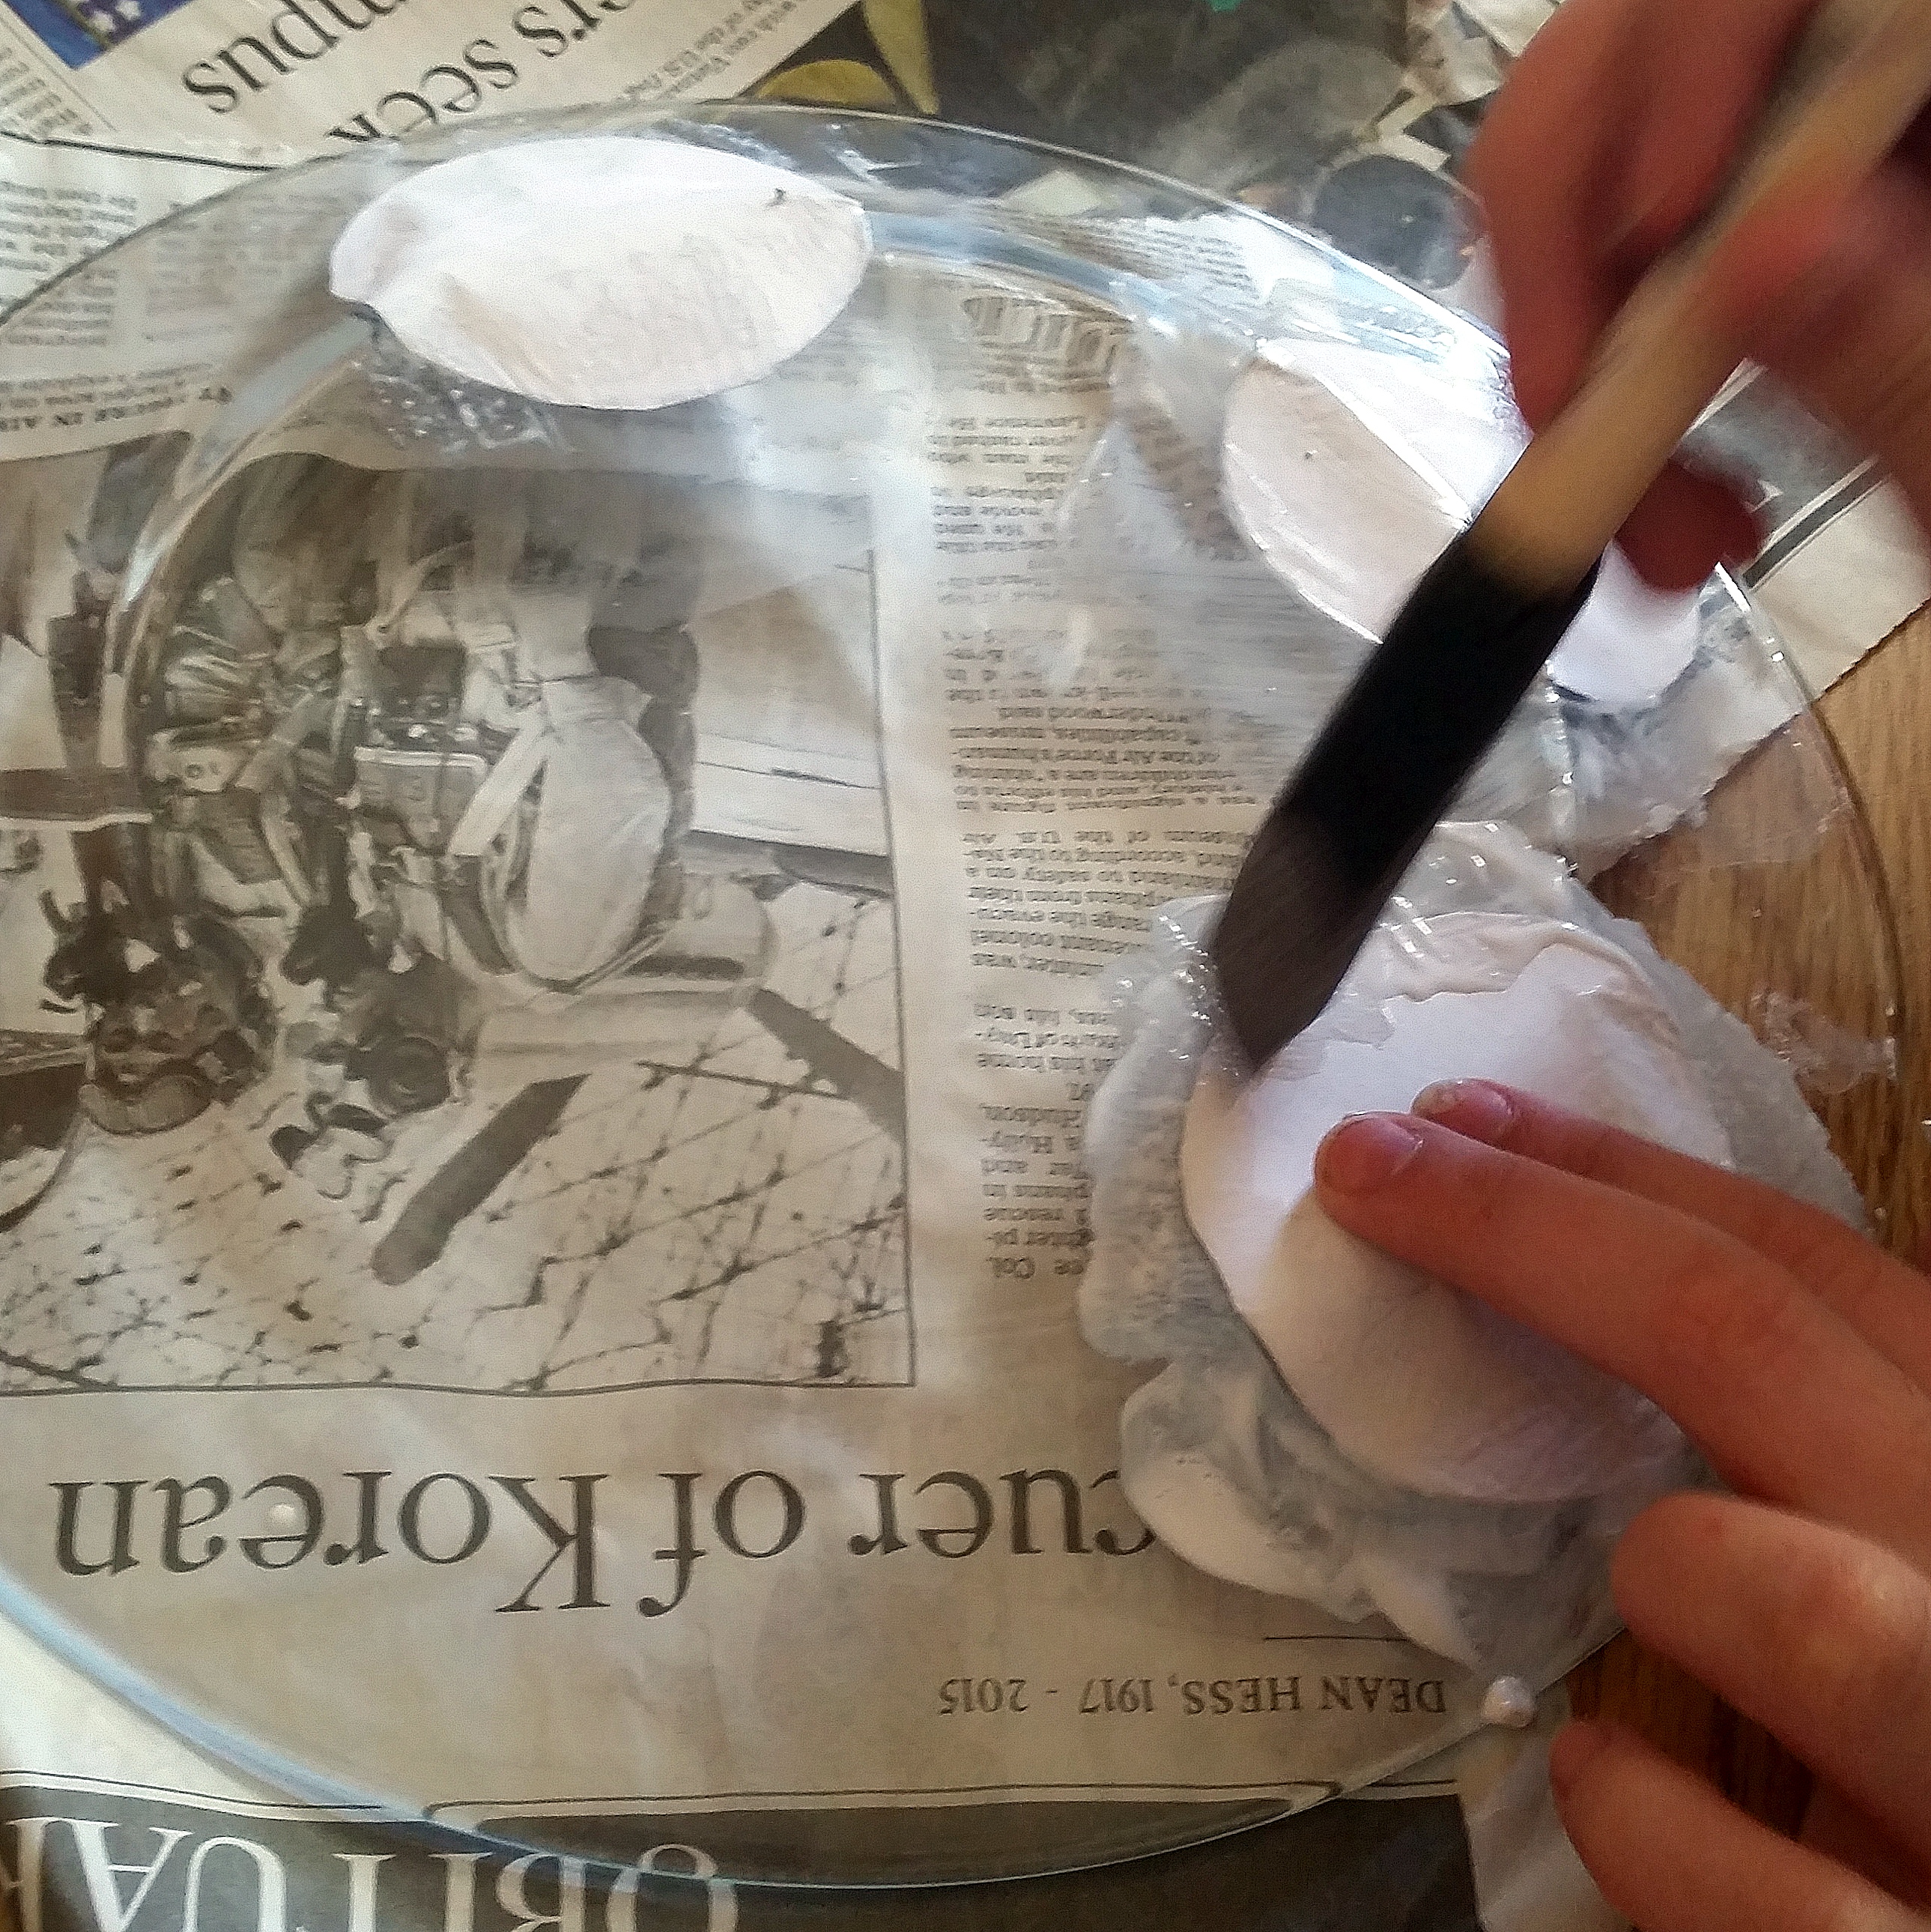
a. Prime the area where your first circle will go by brushing a very thin layer of ModPodge directly onto the plate.
b. Place a circle on the plate, colored side down (so it shows through the glass).
c. Brush ModPodge over the circle: always apply ModPodge from the inside of the paper to the outside, then go over the edges and onto the plate. It will dry clear!

If the plate changes angle sharply from the center to the edges, attach the circle on the flat part of the plate first. Let it set for about 30 seconds before brushing ModPodge over the angled side of the circle and forming it to the plate’s curve as best you can. Brush out any bubbles before it dries.

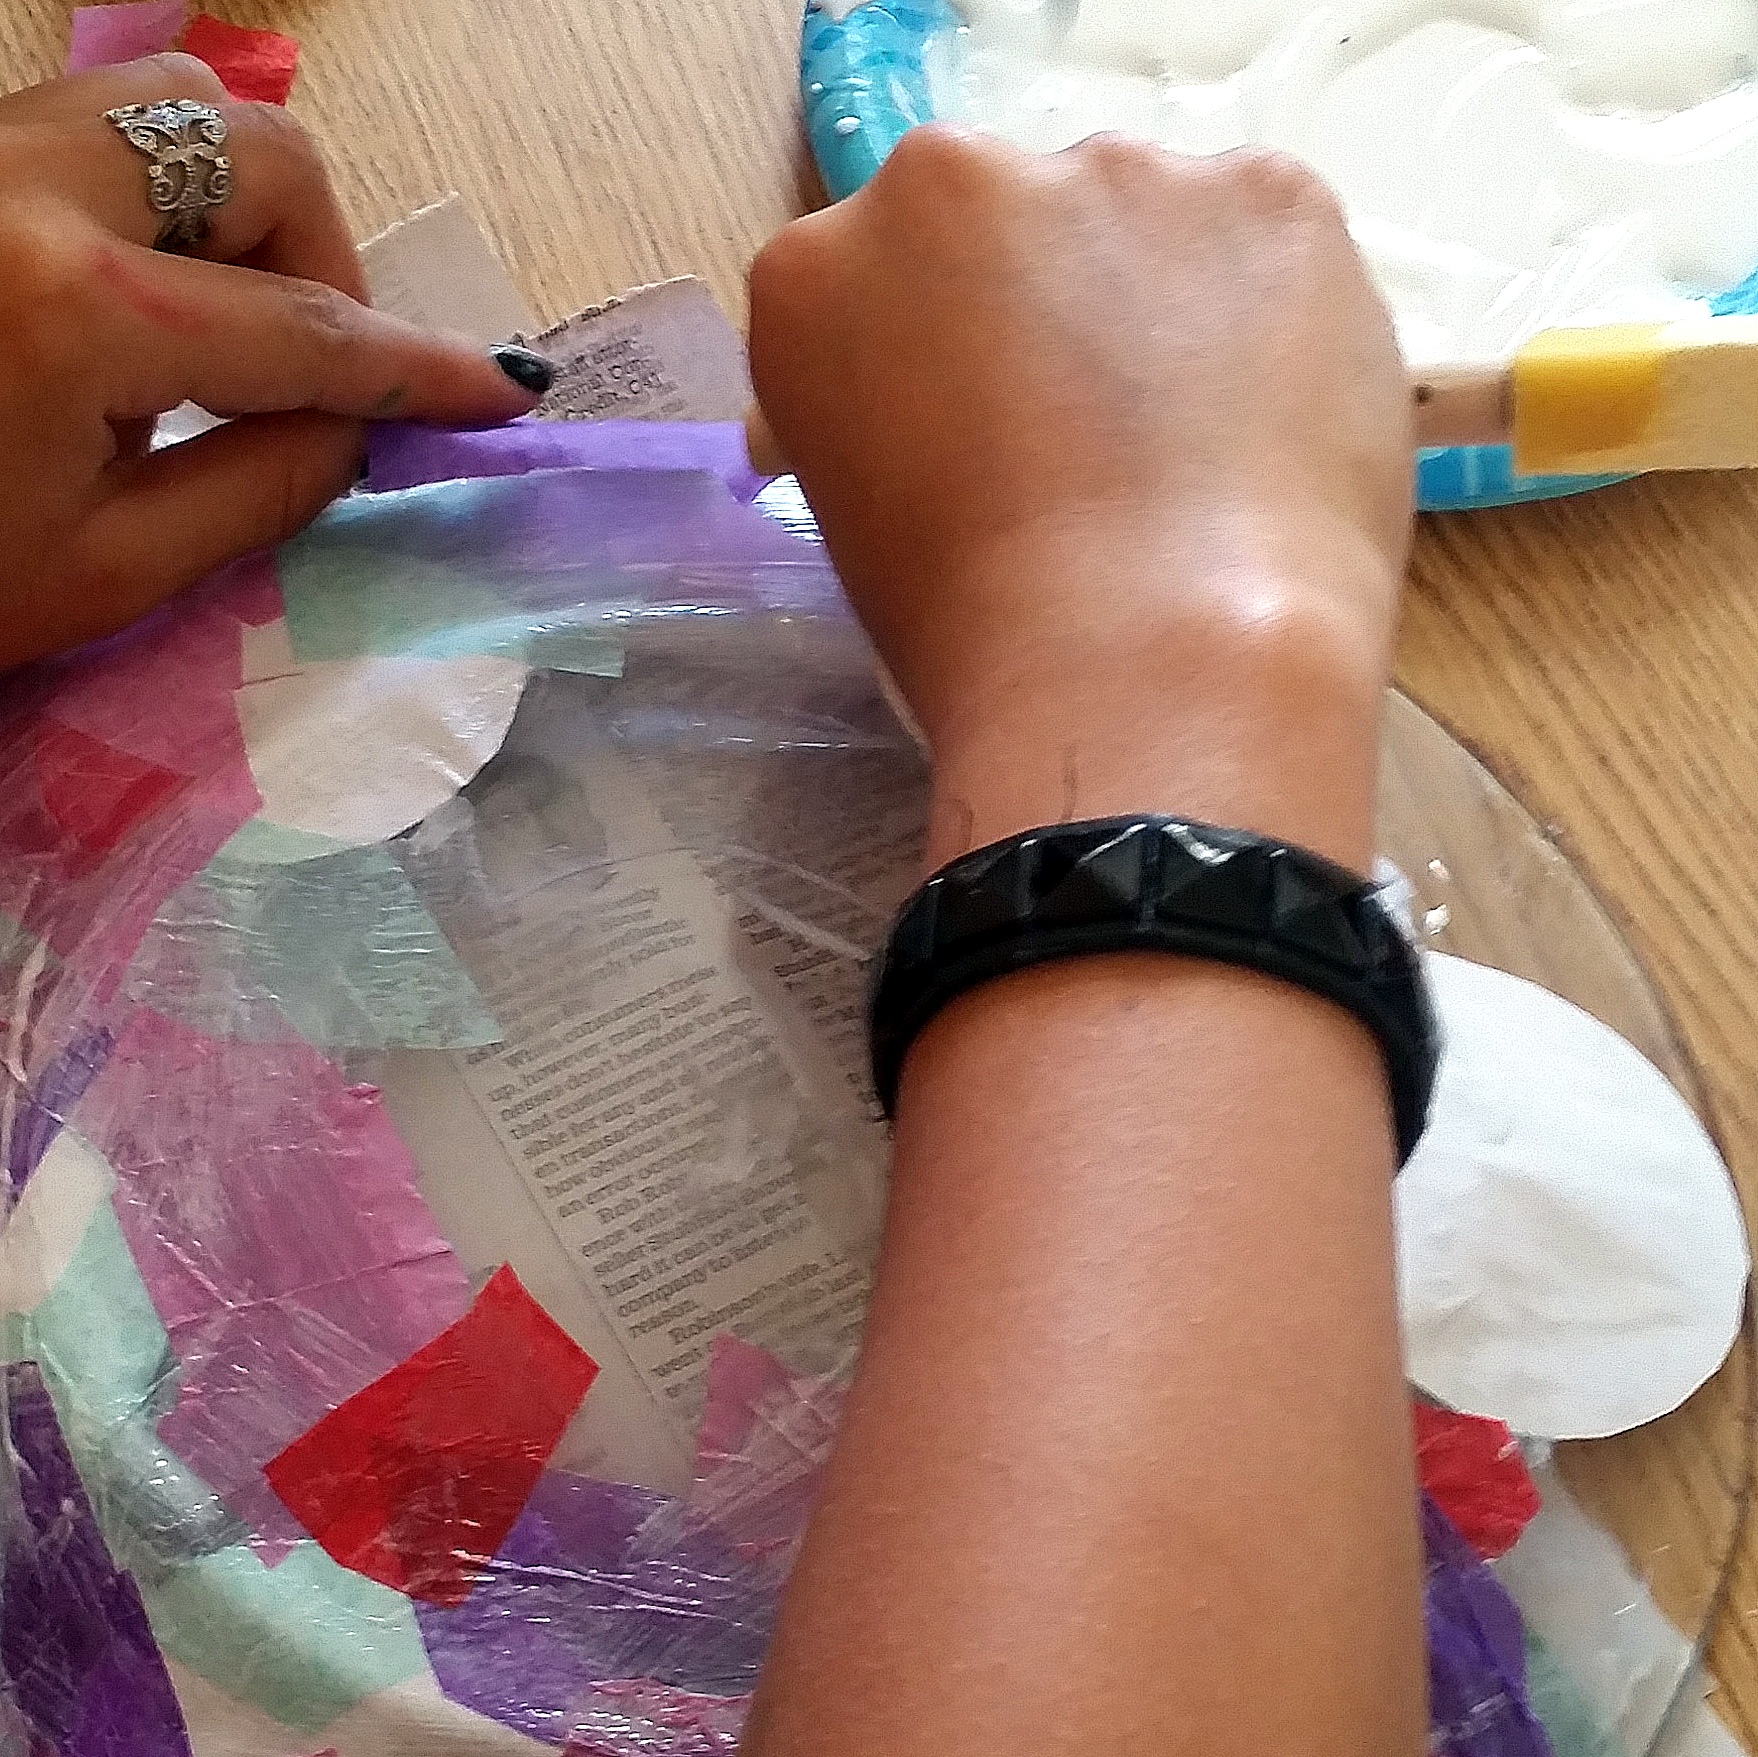
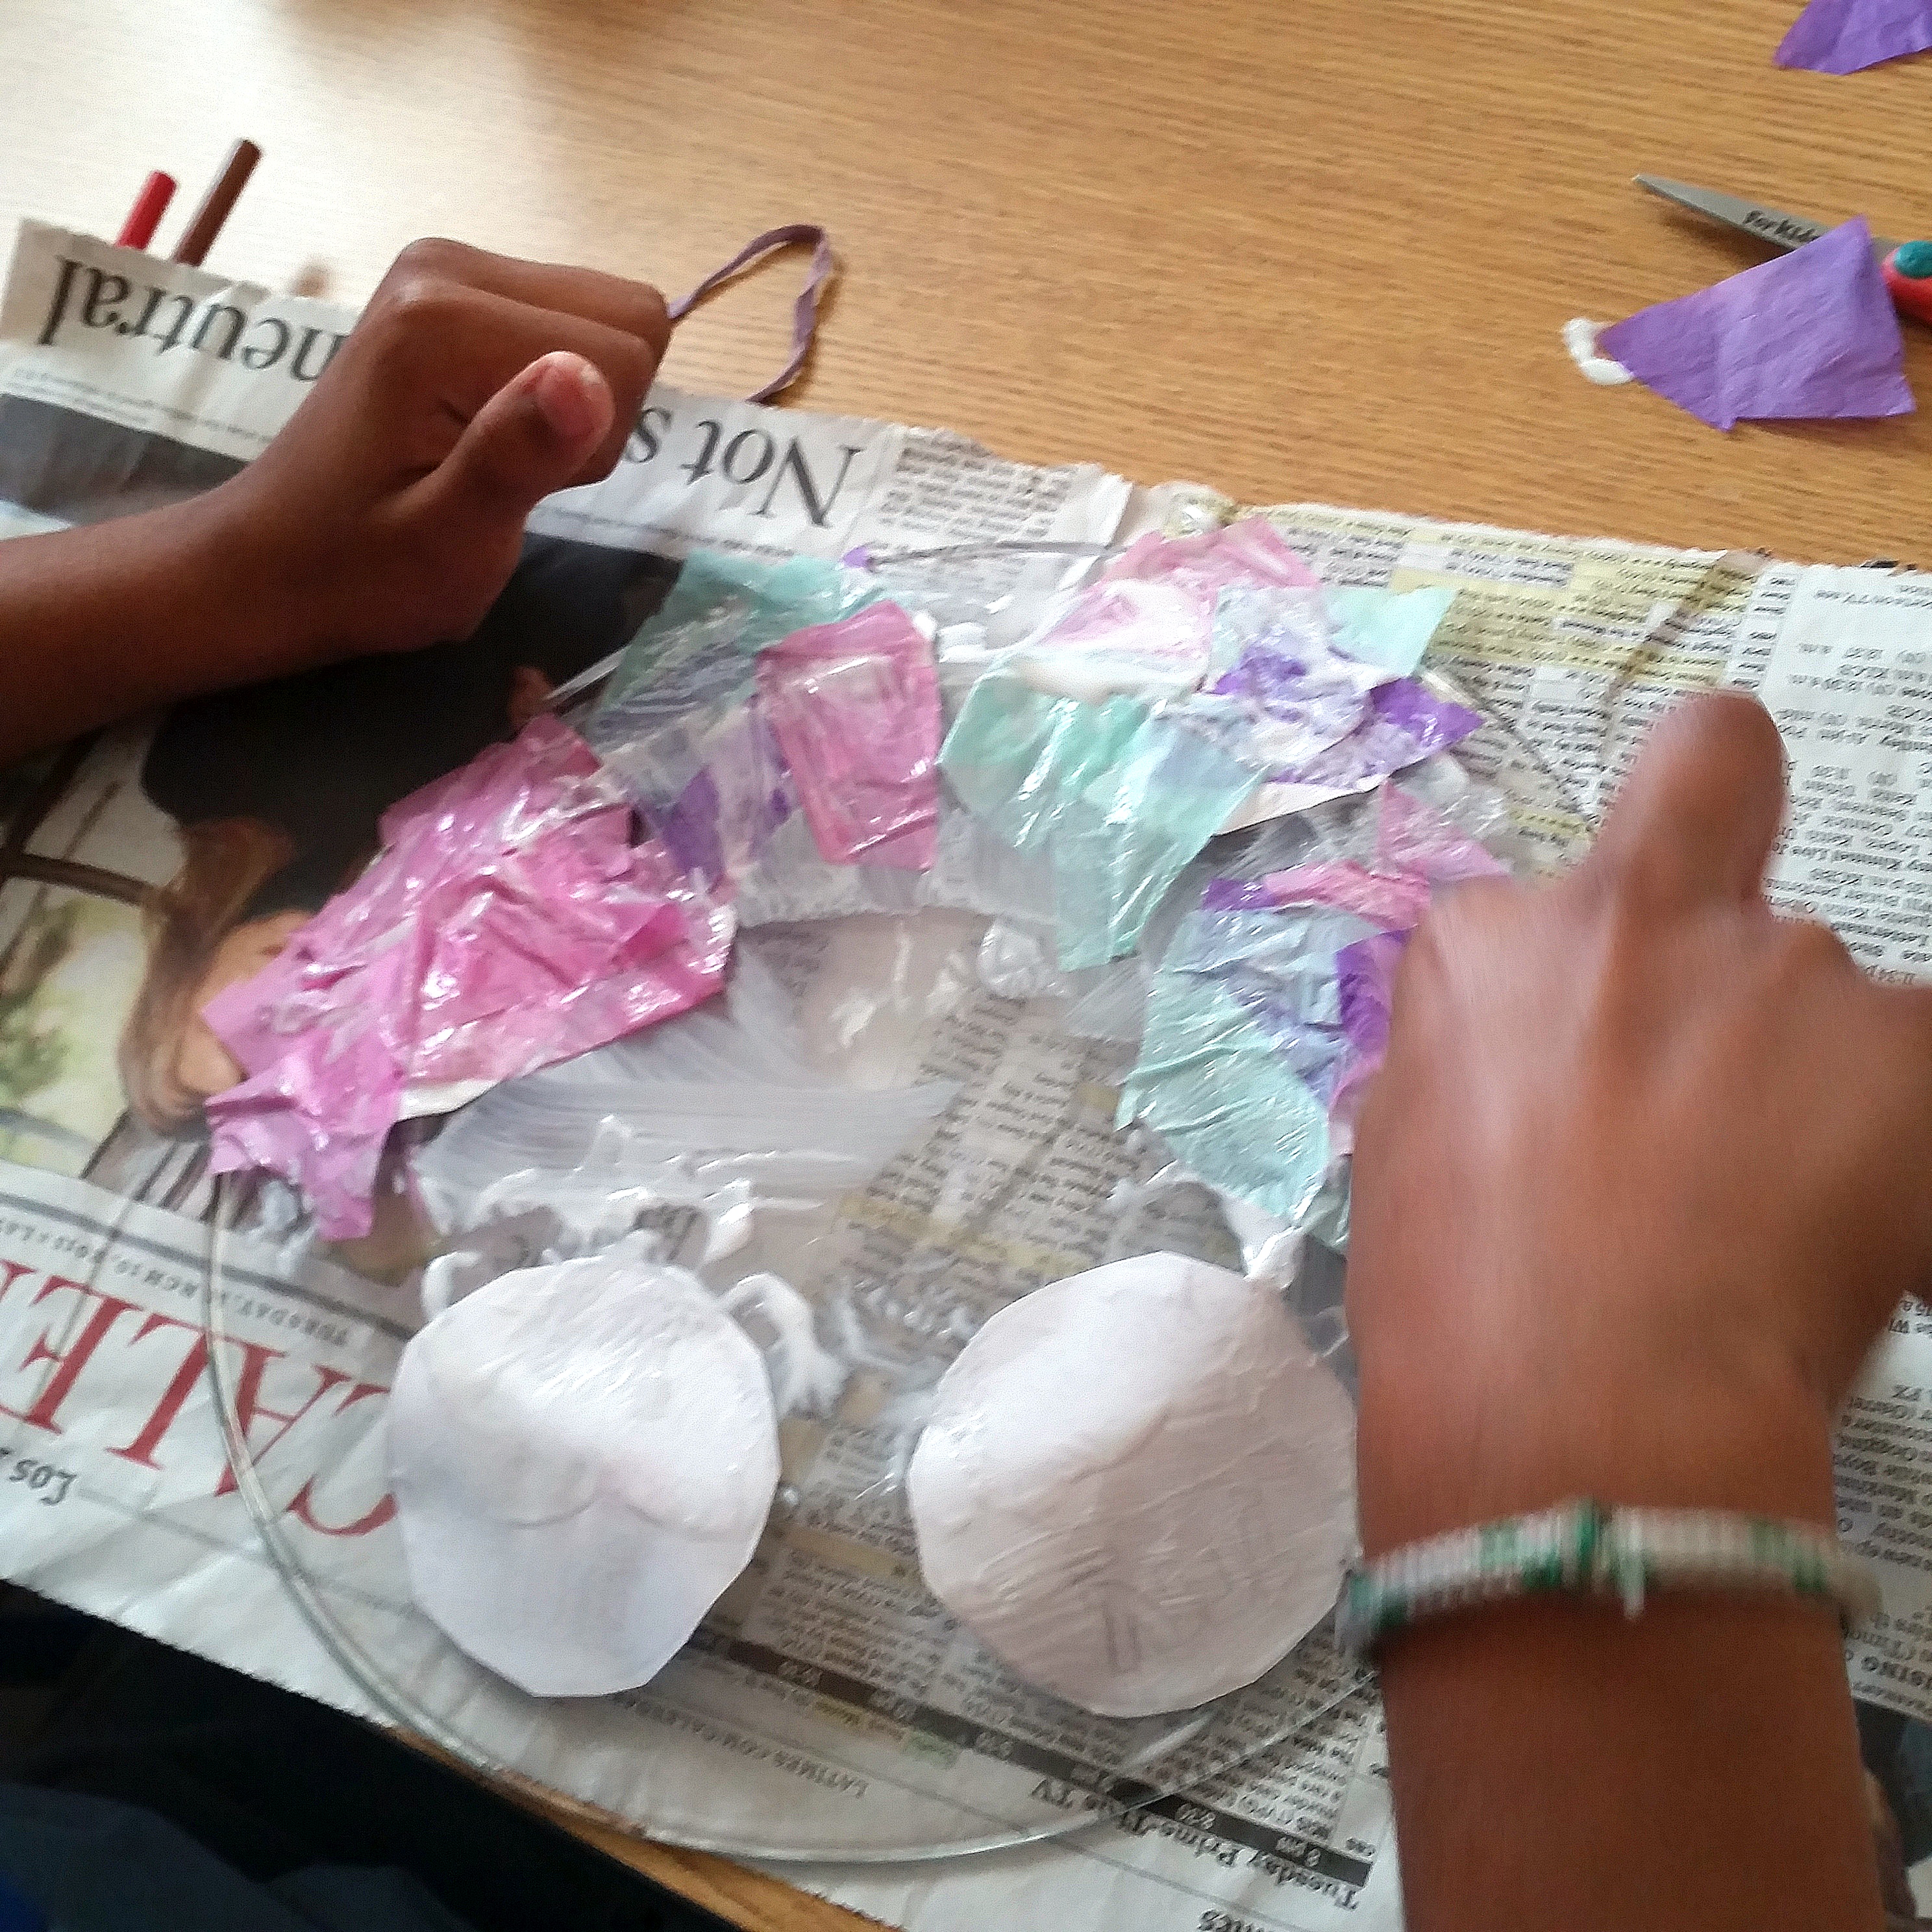
5. Once your circles are attached, decorate the rest of the empty space with tissue paper! Apply a single layer of tissue paper, then brush ModPodge over the back of the tissue paper – no need to “prime” the plate for tissue paper like you did for the circles, since those were thicker paper.
    
6. Set the plate out to dry.

7. Wash instructions: hand-wash the top only – getting the bottom wet can gradually wear down the ModPodge – unless you seal it:

8. Optional: For added durability and easier washing (still hand-wash, but you don’t have to be quite so careful about it), wait until the plate is completely dry, then spray with 2-3 coats of acrylic sealer (follow the instructions on the packaging regarding wait time between coats). Allow the sealer to set for at least 24 hours.

abc5more


Explore, Discover, and More Extension and Reinforcement Activitiesmore

Music Connectionsmore


HOME AND COMMUNITY CONNECTIONSmore


RESOURCES RELATED TO THIS PAGE:

HOLIDAYSmore

SUPPLEMENTARY RESOURCES TO TOPICS ADDRESSED:

EXPAND ALL - COLLAPSE ALL